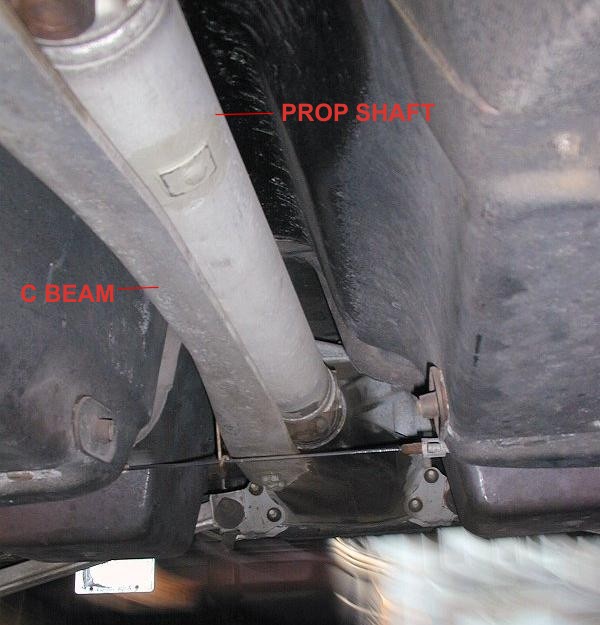
How to replace UJ’s WITHOUT removing C Beam
The factory service manual states that the C Beam must be removed to replace the universal joints on the propellor shaft. Some members of the Corvette Forum said that this was true, BUT a few said it was possible to do it and NOT disturb the C Beam – possibly this only applies to Auto trans like mine?
After some research I got confirmation from forum member rodj and some clear instructions on how to do this. The advantages of not removing the C beam is that it reduces the time of the job, possibly by a few hours! and there is no chance that the C beam will not be put back properly, nuts not tight enough etc because it is a well known PITA to work with due to lack of room – it has to be wrangled in and out and also very hard to get at the front nuts which are above the beam.

The first part of this info concentrates on the prop shaft UJ’s, and then scorp508 has given permission for me to host his excellent write up on replacing the halfshaft UJ’s
Below is a copy of my write up for the mechanic who did the job for me, and after that scorp508’s tech tip with photo’s. The mechanic reported that my FAQ sheet was a huge help to him and confirmed that everything was correct.
NOTE – Driveshaft and halfshafts are made from soft aluminium and easily damaged.
All nuts/bolts are Metric.
Factory Manual and Haynes Manual supplied
Hood release under LEFT HAND side of dash,
This fact sheet is compiled from info received from other Corvette owners who have done the U/J replacement job themselves and is vouched for by several owners who have followed these or similar instructions.
The manual says to remove the Driveline Support Beam (C Beam) but this is NOT RECOMMENDED – all reports say this is a tricky job –
“The C beam is a PITA to remove if you have never seen one before. You need small hands to get up side of tunnel and hold open ender on top of beam while undoing bolts underneath.Then you have to get it out which is a work of art in itself. Replacement also involves measuring alignement, R/R just for the C beam can take hours.”
The instructions for Driveshaft removal came from Rod in Sydney who has done the job many times and it can come out in as little as 10 mins.
REMOVE DRIVESHAFT FIRST so that brakes can lock diff to allow easy undoing of rear UJ Straps on diff.
Mark the drive shaft so you can install it back in the same position to keep the correct balance.
DRIVE SHAFT REMOVAL –
Hoist Car
Drop exhaust
Undo bolts holding uni to diff, You may need the diff locked in order to crack the strap bolts loose , you can only really work on one bolt at a time and then need to rotate.
Use a long 1/4 drive ext for better access
MANIPULATE DRIVESHAFT OUT –
Driveshaft will move foward on the trans yoke allowing you to get rear uni’s caps off the diff yoke. Need trans out of gear and handbrake off so you can rotate yoke to best position to get caps out .
Take rubber hammer, and tap the drive shaft FORWARD into the transmission, angle the drive shaft so its above the handbrake cable that goes horizontally across the car.
Take the rubber hammer, and tap the drive shaft out of the transmission.
DS will slide back beside diff head over handbrake cable enough for the yoke to come free from trans.
The handbrake cable can be undone if needed, but I don’t recommend it because it’s 20 years old and may be brittle and break. (It’s made to come apart at the clip about in the middle)
May wish to have a catch pan under the rear of the tailshaft to keep transmission fluid from leaking on your shop floor
DS can then be moved foward to clear handbrake cable and down.
Check rear trans seal while you have DS out , cheap insurance against leaks.
Remove old UJ’s and fit Spicer K5 -13 XRHD
HALFSHAFT UJ’S
Below is a link to the excellent write up by scorp508, with clear photo’s for the halfshaft UJ replacement. I found a post by him, after he had done his UJ’s which showed there was one alteration to the way he showed the removal. Instead of undoing the camber strut at the inbord adjustment end, he undid it at the outer end, which prevents the camber from being altered and saves having a rear wheel alignement.
Click
HERE for a link to scorps write up for the halfshaft UJ’s. (Opens in a new window)

