This is not just a blog of routine servicing, but also repairs and improvements

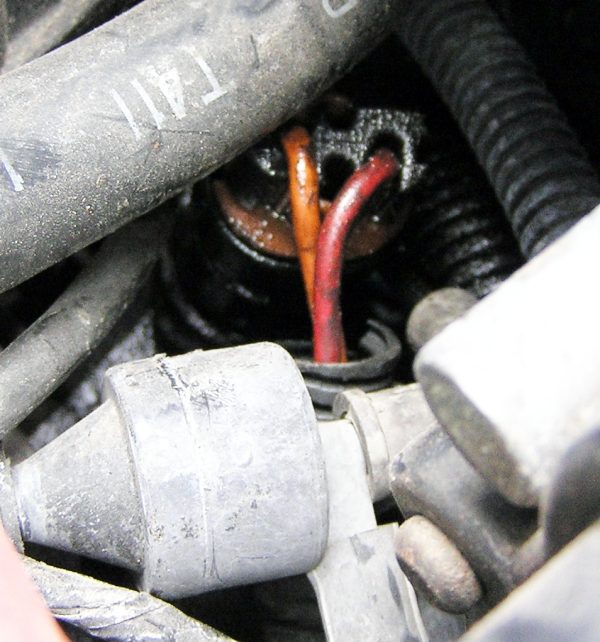
In 2011 there wasn’t much work to do, except that I finally traced the source of a small oil leak at the rear of the engine. The leak suddenly got much worse and it was easy to see that the plastic, electrical, part of the oil pressure sender was coming loose due to oil pressure.
This switch closes contacts above 4psi sending power to the fuel pump. The ECM also powers the fuel pump and this switch is only a backup. I removed the cap, ran the engine and watched the oil rise in the socket- confirming the switch was leaking.
Fitting a new one involved removing the distributor. I made up a list of instructions and it was all about the distributor. There was a single line mentioning the oil pressure switch – “Swap OP switch”
The OP sender is different on different years of C4’s. I took a photo of mine to make sure I got the right part.
 I found one in Australia, Eagle Auto Parts Brisbane Part # PS 167 was identical.
Here are the instructions in case it helps someone else –
Corvette – Replacing the oil pressure switch
Remove Distributor
Bump engine over until rotor points to front.
Disconnect 4 wire plug to dist body and the 2 wires to cap
Undo bolt on RH holding clamp and remove or slide clamp back so dizzy will lift out.
Note that the rotor will turn anti clockwise as dist is removed.
Make visual note – how much and the final position.
It’s worth marking the final position in case it gets nudged and for confirmation when replacing
Swap OP switch.
Drop distributor into hole starting with rotor pointing in direction it ended up with when you removed it.
If aligned with the correct tooth ( and you have not turned engine over while it was out ) it should return to the pointing forward position. Sometimes takes a few goes if you are one tooth out !
Replace 4 wire and 2 wire plugs
TIMING – The ECM expects the dissy to be set at 6 degrees BTDC. To set the timing, the EST wire must be disconnected to stop the ECM adjusting the timing automatically.
There is a plug in the EST wire on LH side of car, near evaporator box –(converted to RH Drive Corvette) unplug it to stop automatic timing control
With the EST disconnected set the engine idling at 1000 rpm.
Don’t adjust the set screw on the throttle body, which has been set v accurately and is a complicated process. Either get someone to hold the throttle or wedge something like a feeler gauge, strips of beer can etc between the throttle and the throttle stop on the throttle body. Any steady rpm from 800-1400 will probably do.
Set the base timing to 6 degrees BTDC
Tighten the distributor clamp.
Reconnect EST plug.
Start engine, check oil pressure on dash.
Routine jobs involved an Oil and filter change, greasing all nipples, rotate the wheels and a general inspection.
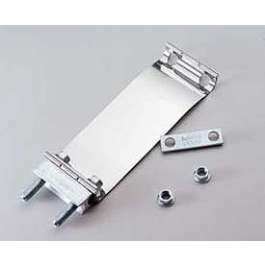
I also fitted a new 82C thermostat and a nifty centre exhaust clamp to replace the standard one where the bolts protruded down and sometimes scraped on speed bumps


January 15th, 2013 at 6:51 am
Good job! I live in Italy and I have been driving my white 88 for 2 years and I have honestly had little problems . Generally my problems have electronic nature : relays, bad grounds, worn connectors… For example now when I turn on the head lights , some courtesy lights as the radio “bose” light or the AC panel light dim completely but the cluster works fine! Nobody is perfect !! -ahahah- Ciao !